Shading 2D Shapes
Program(s): Photoshop
Level: Advanced
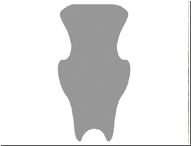
Step 1.
First we have this shape stored as a layer. Make sure preserve transparency
is on. I created the shape by using the pen tool and editing it with quickmask.
Starting with a neutral gray layer is probably the best thing to do because
you can always color a grayscale object. When dealing with several colors
at the same time as shading, color mixing, bleeding, and smudging sometimes
becomes a problem.
Step 2.
Next step is to lightly and simplistically define the sharp 3D contours
upon the object's surface. These will serve as your initial guides for
shading everything:
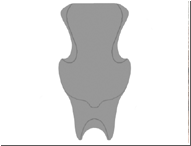
Next step is to take a wide, soft-edged paintbrush tool using black in normal mode, and lightly shade along these contours. Also here, i took a hard-edged paintbrush along the sharply defined outer-edges and darkened them in.
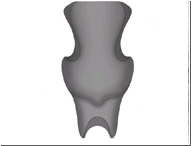
Next are the opposite moves: lightening. Run a large soft white (normal blending mode) paintbrush along the lit edges and areas of the object's surface.
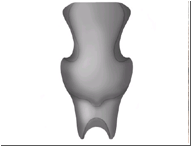
Now take a small (2 pixels wide) sharp-edged paintbrush, loaded with white, and go over the original definition edges to lighten them. This simulates the appearance that the edges are rounded and that they're catching light.
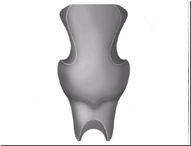
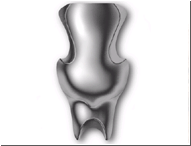
The next part is easy, but sometimes a bit tricky. Whip out an airbrush put it in color dodge mode, load it up with white, and lightly run it along the most lit areas of the object's surface. Color Dodge is wonderful for creating bright over-luminated highlights. As you can see below, the object now looks much more shiny and smooth.
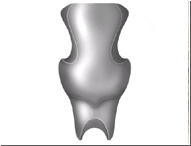
Now to get rid of the 'hazy' look, where dark areas appear much too light, select the Color Burn tool. Set it to 50% exposure, and set it's mode to affect Midtones. Lightly brush the tool over the shadows that appear much too illuminated, and they will somewhat dramatically darken.
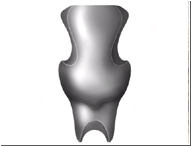
Final step, and a very easy step, would be to add an optional drop-shadow by simply duplicating the layer, turning on preserve transparency, filling it with black, turning off transparency, guassian blurring it, and moving it behind the original object. This gives more depth and realism to the object itself.
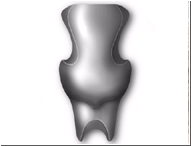
Also, I've done this before for an alternate look. Though the process is cheap and its a bit like cheating, it works, sometimes it works very well. This is how I make it look less like polished aluminum and more like wavy chrome: adjusting the luminosity curves, which can be adjusted by going to Image > Adjust > Curves, or by pressing Ctrl+M.
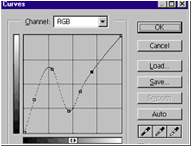
The object now looks very reflective of its surroundings because I warped the shading values on the surface. This can be created by using an airbrush as well, and usually the output from using an airbrush is much more realistic and much more clean looking. However, this method is suitable when working under a time limit, or when using it on a surface that does not need to look absolutely perfect.
