 |
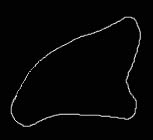
Start drawing a rough
outline of your shape on a new layer |
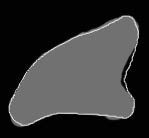 |
Now create a new layer,
place it underneath the outline layer and using a smallish brush, fill it
with a mid grey
|
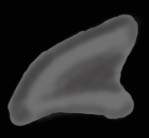 |
Thats the basic shape
done, you can get rid of the guide layer now, start building up the shape
with a darker grey using a small airbrush, set it to around 17% opacity,
play around with the opacities until you get one that suits you drawing
style |
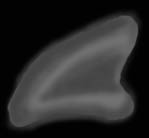 |
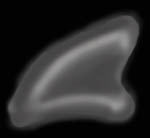
The smudge tool is your
friend, you'll probably use it more than the airbrush itself, start
blending the shading together with more or less the same size airbrush,
don't worry about the edges, you'll clear those up
later |
 |
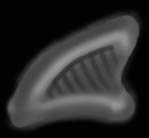
Add some light grey
highlights to give it a more 3d look, i used a slightly smaller airbrush
than i had been using before |
 |
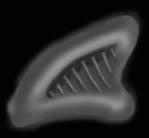
Now start to add your
rough details, i always start with the shadows first and add the
highlights later |
 |
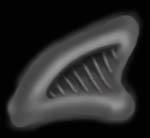
Just pick up the light
areas bit by bit, use a small brush, zoom up and remember to use the
smudge tool to smoothen things out |
 |
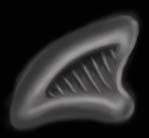
It takes a while until
you're happy with the result, i darkened the shadows again and smoothed it
out |
 |
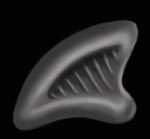
Go back to your main
shape and refine the shading, add more shadow/highlight and zoom in and
smooth things out with the smudge |
 |
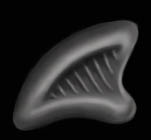
Time to clean up the
edges, just set your eraser tool to paintbrush with a hard edged brush,
start deleting the outline, steady hand needed hehe |
 |
Just about done, just
zoom in and keep adding your shadows/highlights until you're happy with
it, if you spend a bit of time with the smudge tool you can get it to look
a hell of a lot smoother than this example |
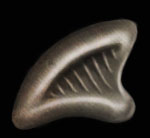 |
You can always play
around with the image to get different results, altering the curves can
give you a chrome look, i knocked the contrast up on this one and added a
texture |


