 |
Start with a grey background something like this, try and make the canvas as square as possible |
 |
Using a small round brush, draw a small circle, make a selection around it like this and goto Edit/define pattern |
 |
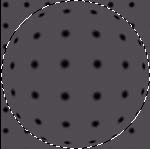
Deselect then goto Edit/fill the choose the pattern you have just made, fill it then make a circle selection |
 |
Apply the distort/spherize filter at 100% |
 |
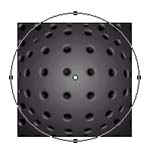
Goto lighting effects and apply a soft omni at default settings like this, tick the red texture channel to give it the lumpy texture |
 |
Invert your selection and cut away the waste with black as your background colour, i shrunk it down a touch using edit/transform/scale before going to the next step |
 |
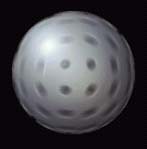
Duplicate that layer, apply a lensflare in the top left corner of the sphere then radial blur it by 20 |
 |
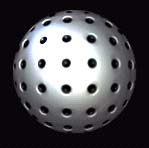
Just set your blending option to color dodge 100% for that layer and you're done |
All content copyrighted to Monkey Webdesign. This tutorial originated on www.spyroteknik.com, do not post elsewhere without express permission