 |
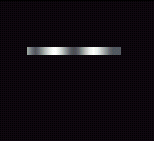
Start by making sure the
silver gradient is loaded |
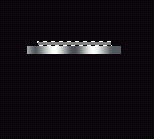 |
Make another selection just above and fill it with mid grey |
 |
Now do the same as the first step only slightly wider |
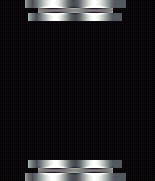 |
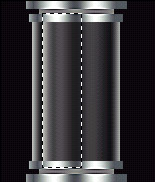
Duplicate the layer, then edit/transform/flip vertically, put them at the top and bottom, then apply sharpen/unsharp mask to bring them out a bit |
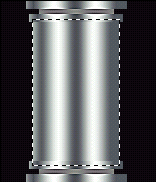 |
Now onto the glass, make a selection like this on a new layer underneath the others then fill with the silver gradient again |
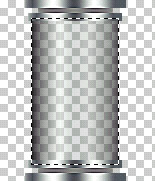 |
Knock the opacity down to 30%,
hide the background, set your foreground colour to black and using the
foreground to transparent gradient |
 |
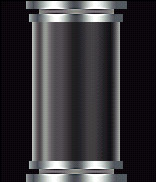
Set your foreground to white
and on a new layer, and using the same gradient |
 |
Now to add a highlight, create another layer, make a selection like this and nick the edge with the transparent gradient again |
 |
Just gaussian blur this layer at around 2.5 to finish it off |
 |
|
All content copyrighted to Monkey Webdesign. This tutorial originated on www.spyroteknik.com, do not post elsewhere without express permission