 |
Start with a new image in RGB
mode |
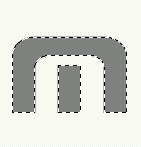 |
Select the text and create a new layer, Edit/fill with 50% grey |
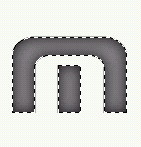 |
Apply the Gaussian Blur filter at around 6.5 |
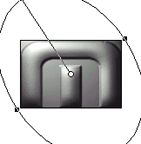 |
Now apply the lighting effects on default like this, make sure the texture channel is ticked |
 |
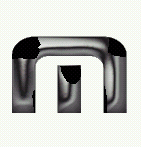
This is what you should get |
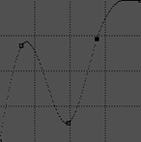 |
Adjust the curves with these approximate settings |
 |
Thats your chrome done, now to add the rust, select the text again and make a new layer |
 |
Fill the layer with a brown colour |
 |
Apply the distort/glass filter with these settings: D15 S15 scaling 76% and blocks |
 |
Select colour range and select the dark colour, invert the selection and cut, you'll end up with this |
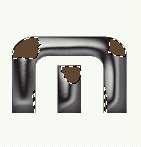 |
Select this layer and adjust the hue & saturation to a light brown, make sure you tick colorize |
 |
Apply the noise filter at around 17 monochromatic and goto blending options and select darken. Thats it, rusty chrome text, i just added a dropshadow. |
All content copyrighted to Monkey Webdesign. This tutorial originated on www.spyroteknik.com, do not post elsewhere without express permission