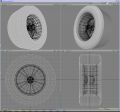
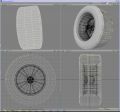
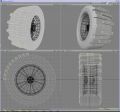
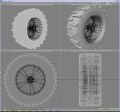
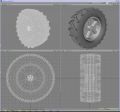
1. step:
ok, here a small tutorial how to make a small fly
wheel toy or similar things.
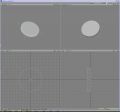
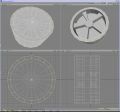
| we will start with the wheel. the very first step is a disc. since we
want to create a wheel with 5 spokes we need a disc with 20 sides |
 |
| i think it's better to use rims with 3 or 5 spokes (or similar things)
because people are thinking that symmetrical or mirrored objects are
unnatural (ok, that rim is both but you got the point). for our car, the
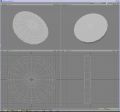
original object is also armed with 5 spoke rims. the next step is bevel,
we bevel both sides of the disc, one step for the border of the rim, 2
steps for the definition of the inner rim and the last 2 steps for the hub
|
 |
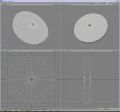
| we're kicking the both polygons from the middle and welding the points
with average weld |
 |
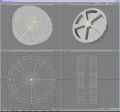
| next step is to select the border on both sides and the 5 spokes (the
forthcoming spokes) and to smooth shift those polygons 3 times |
 |
| following that step we deselect the hub and the spokes and smooth
shift the border 2 times more |
 |
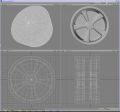
| after deselecting everything press tab to switch to subpatch mode. if
everything is done like we want it we oughta get an object like shown in
pic |
 |
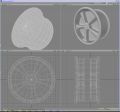
| some additional smooth shifting and we have the lower part where the
tire snaps in and with some rotating of some points between the spokes we
will get sharper corners |
 |
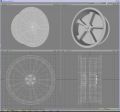
with some additional steps we can change the hub to a more technical
shape. i've added some nuts (not the ones from the trees) like shown in
pic 8
if you want to spend some more time you can remove some polygons
from the border of the rim. |
 |
so, the next step is the tire. if you think the rim is heavy on
polycount stop reading now ;-)
| because we want to create some impressive profile for the tire. the
primitive is, as usual, a disc. depending on the amount of profile we need
a disc with 80 or more sides. we use bevel to create the base shape of the
tire. create smaller disc with that tool with a kind of slope to make the
tire look round on the border. the last bevel of the both discs should
make them touch together. delete them and set the points to the same value
and merge them. if my explanation isn't that bad you should get a result
similar to picture 9 |
 |
| now we have two possibilities to create the profile. first one -
select all the polies we need for the creation of the profile and smooth
shift those polies to the shape we want. |
 |
| second one - work on a segment of the tire, smooth shift only one part
of the profile, kill the other part of the tire and clone the segment with
the profile. the result should look like pic 11 |
 |
| now press tab and you have an object like shown in pic 12 |
 |
| use the knife tool to get some sharper stops of the profile and rotate
the inner points of the tire to get the v shape |

|
that's all for modeler so far. switch to layout, add some bumpmap
for scratches and broken parts and some dirty maps for a more natural look of
the tire. depending on your subpatch level you can make nice close ups of the
tire without that ugly polygon
style.
