Ugly Character UV Map

Ugly Character UV Map Tutorial for Maya 4.x

 This tutorial may seem long because I tried to explain myself so that its easily understandable. If its intimidating print it out and read it over on your free time.

Cool, now you've created this beautiful model, but something's missing. You can see it but don't know how to get you model to look like it. Texture mapping is one over looked and very important part of the whole 3d process that will help bring your creation to life. In this UV map tutorial you wont just learn how to setup uv maps but I'll also help give you a swift kick in the ass on painting texture maps using all the possible channels to achieve the best output.
 This method is one of many ways to setup and paint uvs. I find it the easiest and most productive way. If anyone discovers an easier or better way be sure to let me know.

 Usually the texture mapping process begins when you've got your model all finished. So what you would normally do is flesh it all out add all the detail you want then setup the uvs then after paint the map. I say nay to that cause it will make you life a living hell. What I like to do is model your creature, human, or whatever detailed but hold back on modeling the pores just yet. Then setup the uvs while your model is still in mid detail. The reason why is because you want to setup the uvs as fast as possible and with ease. Texturing can be very tedious and time consuming. 3d that's tedious isn't really fun anymore. So I have a work flow that will hopefully make the process easier.

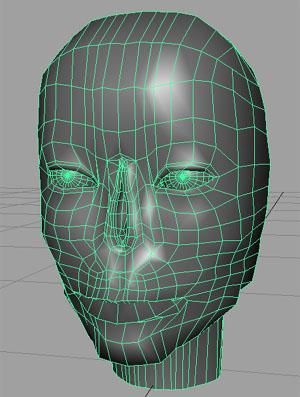
  Figure 1 here's a shot of my model, cute isn't she?

We will during the course of this tutorial create a Color, Spec, Bump, Diffuse map for our character.In lamens terms Color is the color of course. Spec is the shininess or wetness of an object. Bump is used for added depth like wrinkles, creases, stuff like that. And the rarely used Diffuse channel which is the absorption of light.

 Now lets setup the uv map.

 First I like to think of the natural planes of the character your working on. Ill try the explain planes abit further. When you look straight at an object like the human face. You try to visualize it in 2 dimensions. Where you just see the front of the face. Which would be one plane. Now if you turn the head around you'll see the right side of the face, this will be your second plane. Again we are looking at the objects straight on not 3 qtr. So the back of the head would be another plane and so on with the bottom of the chin. I know it doesn't make much sense but it will soon just keep on.

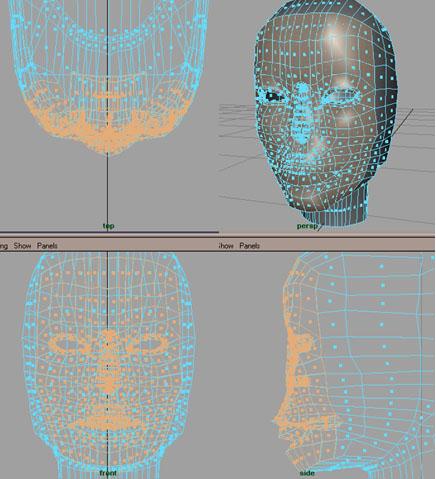
First select your polygon model and delete uvs to give yourself a clean plate to work on. click on \Edit Polygons\Texture\Delete uvs. Then load up your texture view, goto windows\ texture view. Next what i'll do is setup this head using all of its planes then sew the uvs to make it easier to paint a some what seamless texture. So I go into component mode (F8 key) then look that the front view to see where your first plane is. Then look at the perspective and select all the faces that make up that plane. It doesn't have to be perfect so don't worry if you miss something. (This is where the paint selection tool comes in handy, but a marquee works just fine.)

 Figure 2 Front plane selected

Then goto \Edit Polygons\Texture\Planar mapping\ click on the option box. Make sure the mapping direction is set to Camera, which will let you select any view window to project it on. /\Warning/\ Please make sure you have Create New UV Set OFF and NOT clicked. Next right click on the front view and click on project. Now you've got your first plane already projected isn't this easy ;) almost done.

Figure 3 Front plane shown in the texture view
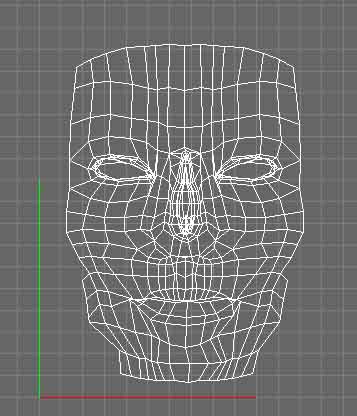
Now goto window Texture View and you should see all the faces you've selected and projected. Now I want to show you the ultimate workflow to setting up uvs.

 In the perspective view you'll see a bar with view, shading lighting, show buttons. first you go into component mode for faces select it all then goto show\isolate select\View selected. Now you wont see anything change just yet. Any thing that's not selected is hidden. Now as you project your uvs what you want to do is goto show\isolate select\remove selected objects.

Which will simplify it more and make it easier to select the next faces to project.

You can also select faces in the texture view if you want to hide them also. Just right click on the texture view then  goto show\isolate select\remove selected objects. Which will do the same thing. Now the trick is to project the front then resize it in the texture view. Using the same tools you use to scale down. To do that you right click on the texture view and goto uvs, select them all then hit. "R" and resize them. Next Select the faces that make up the right side of the head and planar project on the side view. Once you project it it will place it in the center of the texture view. What you want to do is move it aside. And out of the texture guide. Then deselect it all and you'll see the front and side uvs in the texture view.

Tip: sometimes after you've removed selection and you go to select a new faces you might select some of the faces that are hidden. All ya do yo fix that is just reselect it after.
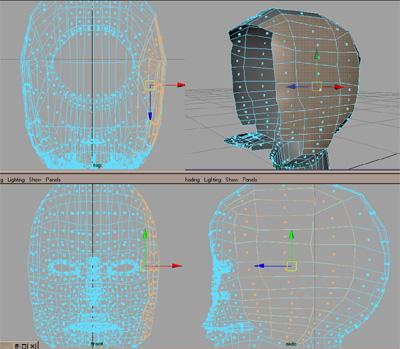
 Figure 4 shows the side faces selected and the front of the faces hidden.

Again after you project the faces on the side. Right click on it in the texture view then goto uvs and select them all then move them aside. When you click off of it you will see the previous projection.

Figure 5 shows the front and side projection side by side and ready to sew.
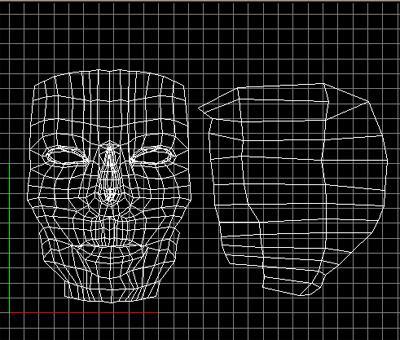
Now right click on the texture view and select edges. Select and edge that borders the two projections and you'll see that the other one highlights. Meaning that the borders are shared between the two. So now select along the seam and goto Edit\Sew UVs on the texture view window. Now they should be sewn.

Figure 6 shows the sewing of the uvs animated.
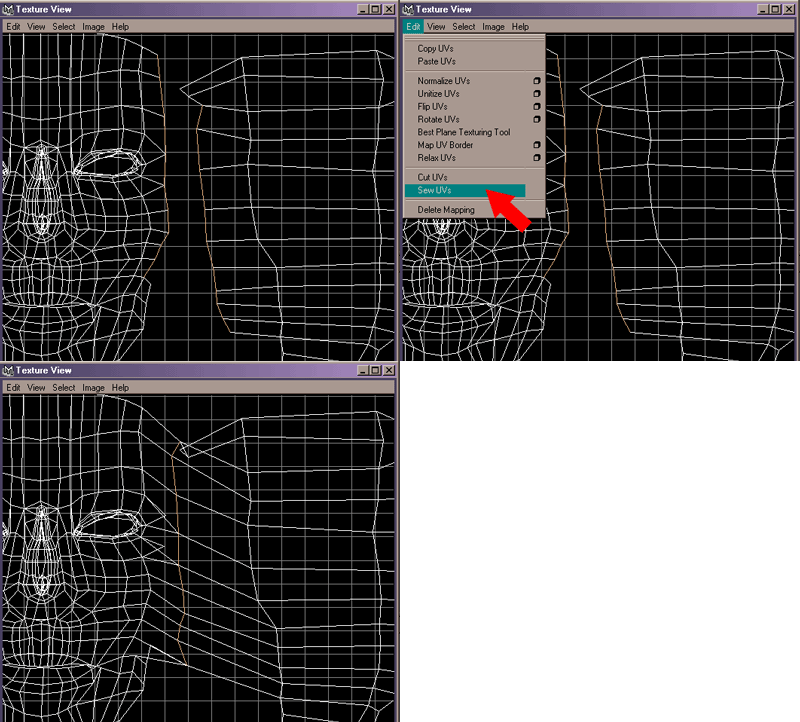
Ok, now do the same thing for the right side. project, move outa the way, line up and resize then sew uvs.

Once that is done you should have something similar to Figure 7.
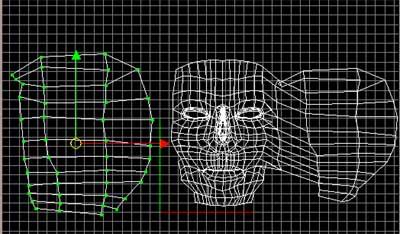
but as you can see the uv was projected backwards and the edges that border are on the other side. Don't worry just scale it till it flips. Then sew the bordering edges.
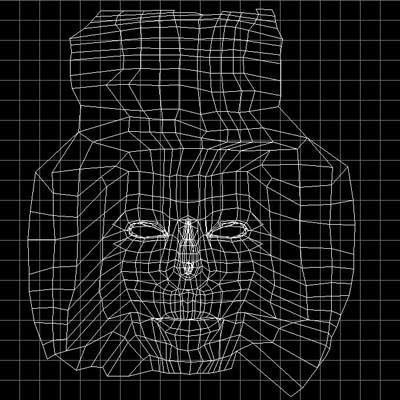
 Tip: You can also modify the uvs further by going into uv mode the select marquee and move with the move tool to the desired location.

 Figure 8 shows the final template.

Make sure your uvs stay within 0-1 texture space which is any one of four quadrants don't let it hit the edges where the or a tile will occur. If they reach the outside edge just right click on the texture view and go to uvs, select them all and scale it so if fits. Maximize the Texture View and then zoom in so you get a nice shot and hit the print screen button on your keyboard to the right of f12. Hitting that will create a screen capture and load it in the clipboard. Then go into photoshop and paste it into a new file. After you've done that you will see the screen capture, then all you have to do is crop the image around the darker grid line.After you've croped the image make sure the length and width is fixed, 512x512, 800x800, 1024x1024 will work. All depending on how much detail you want to cram into that texture map.Save it then load it in the color channel on a shader and apply that shader to the object. Go to the texture view window go to Image\Display image, if you want to see the template images on your model. Make sure you hit "6" for texture shaded if you want to display the image map on your model.Next on to painting the texture map. This is the fun part. Create a new layer in photoshop and place it below the template. Now fill the new layer that you just created and make sure its placed below the template with the base skin color. Then set the template layer to screen which is located on the top of the layer pallet.
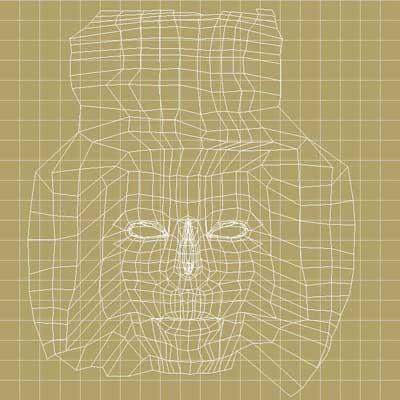
 Figure 9 shows the result.

Now paint your texture on the color layer hide the template and save it out as something like ugly_color.jpg and replace the image in the color channel with this one.

The texture you've painted should fit perfectly.

Figure 10 shows the finished color map.
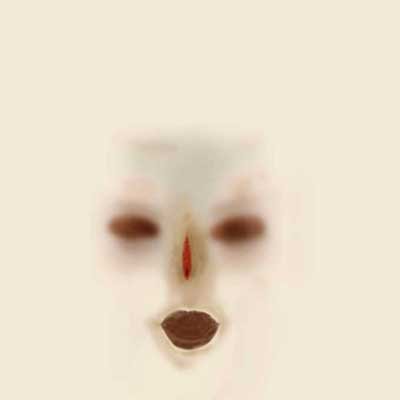


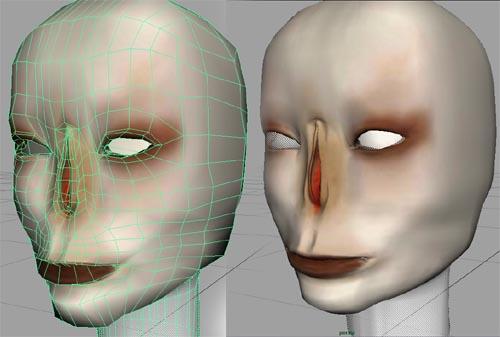
Figure 11 shows the finished color map on the model. Before and after its smoothed. If the uvs are setup correctly you should have minimal stretching across the model.

Next thing you do is the same thing for the other channels; bump, diffuse, spec. Just create a new layer for the bump then fill it with 50% gray. And paint white areas to bring the bump out and black to bring areas down.

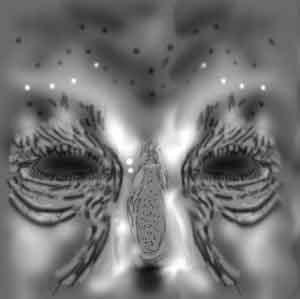
 Figure 12 shows a close up of the painted Bump map

Figure 13 shows a close up of the painted Spec map
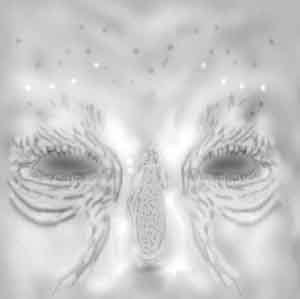
Figure 14 shows a close up of the painted Diffuse map
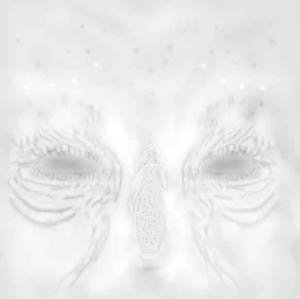
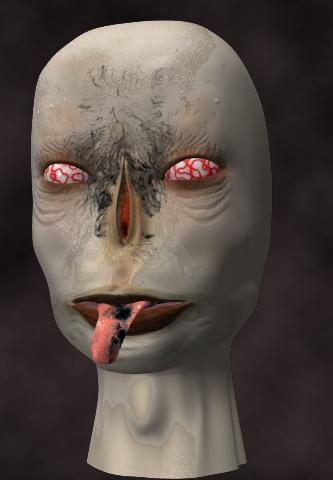
Figure 15 shows the final result. Ugh. Nasty just the way I like em.

 Have fun.

You can also find me in #Noir, #3d_life, or #Maya on the server EFnet on IRC.