|
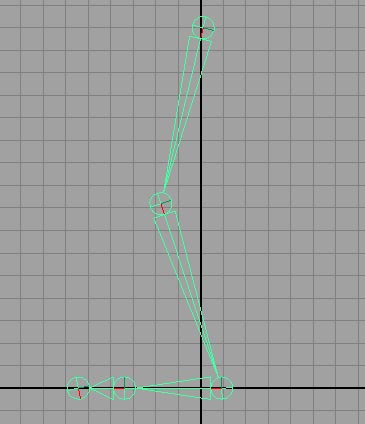
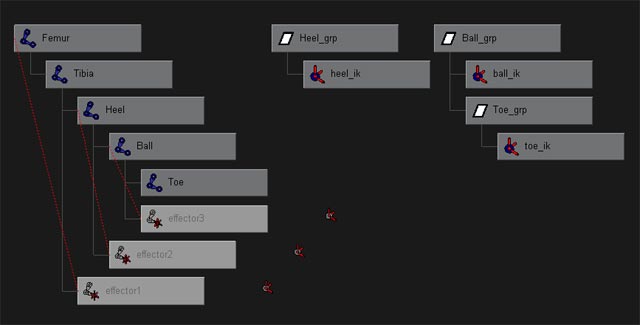
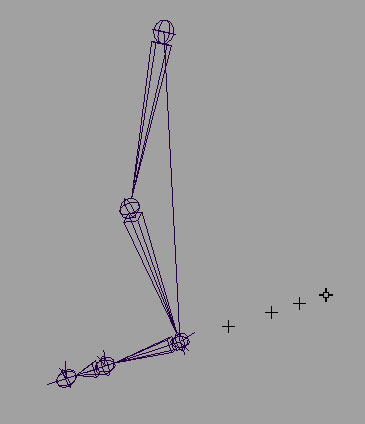
5 Minute Leg Rig Program(s): Maya Some people have asked me to write a tutorial on rigging a leg to be animated easily, so here it is. First of all we are going to create 5 joints. Femur, Tibia, Heel, Ball and Toe.Name them accordingly.It should look something like this.
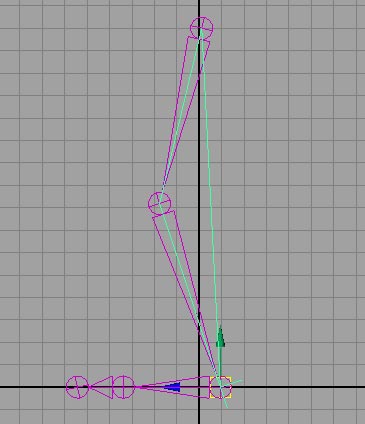
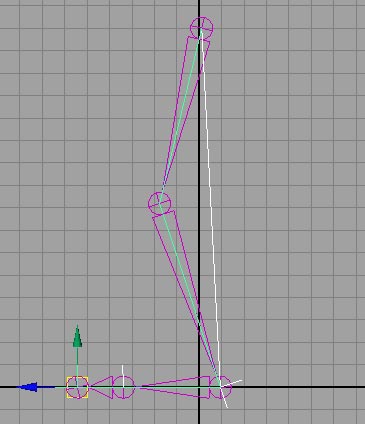
Now double click on the IK handle tool and set the solver to SC and hit ok. First click on the femur and then the heel. Click hit Y on your keyboard to bring up last used tool and click on the heel and then the ball. Once again for the ball to the toe and another for the toe to the toe. Now you have 3 IK handles. Name them.
Now what we are going to do is create groups for each of the IK handles. So you select the IK handle at the heel and hit ctrl+g to group it. Name it Heel_grp if you like. Go to Modify>Center Pivot, then hit the insert key to move the pivot back behind the foot (I'll explain in a bit). Do this again for the other 2 groups you create, making sure to put the pivot points in a row. The toe pivot will be just behind the heel joint, the ball pivot behind that and the heel pivot last. What happens is that now you are going to show selection handles and they appear wherever the pivot is. Click on the toe IK handle and hit UP on your cursor key to go up the hierarchy to the group. Now go to Display>Component Display>Selection Handles. Your selection handle will appear at the pivot. Repeat this again for the other 2.
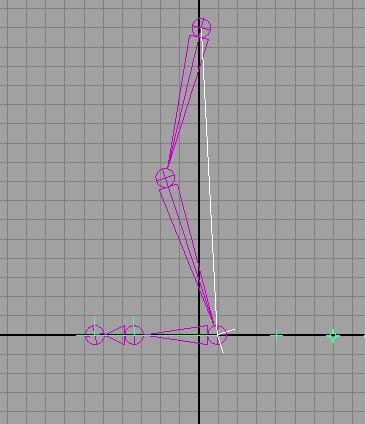
Now we are almost done with the leg rig. Use the selection handle to select a group, hit insert and move the pivot. To make this faster you can use the mmb and hold V to snap to point while you snap the pivot to a joint. They should be as follows: The toe group pivot goes on the ball joint, ball pivot on heel joint and heel pivot on ball. Open the hypergraph and look at the groups you created. You need to put the toe group in the ball group. To move a group, use the mmb to drag it over to another group.
Select the toe group and the heel group and hit ctrl+g to group em again and call this group Foot. Move the pivot behind the other selection ahndles and show the selection handle. Now you have a row of 4 selection handles which you can use to quickly select any part of the foot.
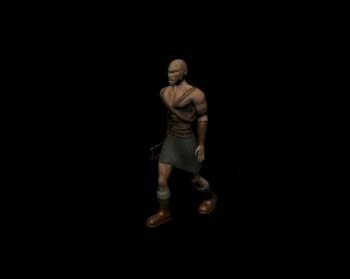
Try selecting a group and play rotate it on the X axis. Play with the others too, you'll find that it acts rather like a real leg. Try selecting the femur joint and moving it forward. Cool eh? Well you're done with your leg setup. Animate the position of the foot using the foot group, the heel using the heel group...and set the keyframes to clamped.To do the other leg, do the same with a different set of names. It seems like a lot, but if you do this a couple times, you will be able to do it in under 5 minutes.Have fun. You must have divx to view this video. |
