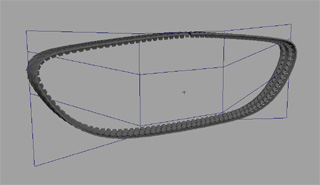
Creating Easily Animatable Tank Treads
Program(s): Maya
Creating easily animatable tank treads
After modeling most of my Marder III model I came across the problem of creating the treads. After doing some research I found that there are not many good options for this effect. There are some expressions and scripts I've seen which do the job, but dont provide full control. I want something as easy as rotating an object.
There are many pitfalls I came to find out when dabbling in this affair. I found a script to help do this, but it would only allow 1 revolution around the path. Thats not very useful. Animating along a path would work, but would not be easy to reverse. Parenting a bunch of links to a curve will work but the links will deform when you alter the curve to the desired shape. There is also even a way to do it with a torus and a couple shaders, believe me I tried every method out there nearly, but none of these creates a realistic tank tread. So I spent 3 days figuring this one out. Finally I had an answer (which I'm about to show you).
The first step is to create a single link that will fit together with itself in a series. You know, link together.
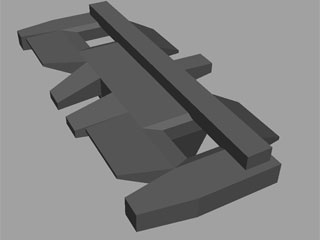
you can make this easier by duplicating some instances and then adjusting the shape of the link to fit.
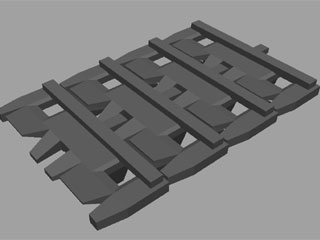
Ok now that you have a good link you can delete those instances. What you need to do now is work out roughly how many links you will need to go around to complete your tread. Now create a nurbs circle and rotate it to be vertical like a wheel.Change the segments to 20 or so. Mor segments means cleaner deforms of the curve later. Also scale it up to a good size (Being too large won't matter at all, I'll explain this later). Select the link first, then hold shift and select the curve. Animate>Motion Paths>Attach to Motion Path. The link will now move to the path, and if you hit play you will see its motion around the curve. Note that the link should be on the top of the curve to start. If not, rotate the curve to the right position. The default is probably not what we are looking for so select the object or the curve and hit control+a for the attribute editor. Click on the motion path tab and change the world up type to normal and switch the front axis and up axis til your link is in the right position. Also right click on the U value box (which is currently pink) and break connection. This is so that the link is no longer animated.
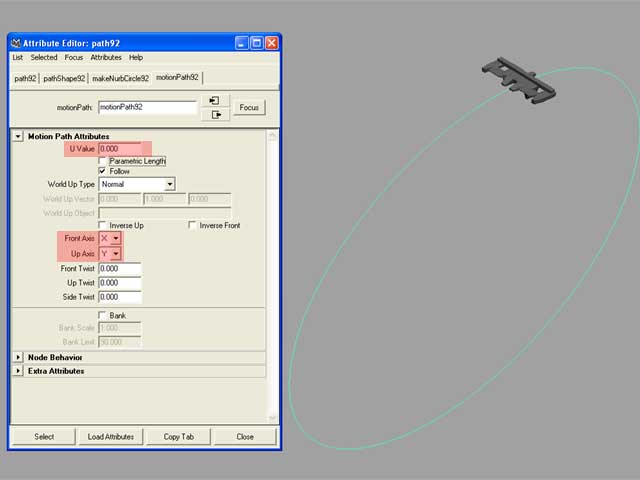
Now what we are going to do is duplicate this setup for each link needed, I calculated that I will be needing 93 links to go the full way round for my tank. Select the curve and the link and go to Edit>Duplicate option. For the number of copies, you put in the number of links you need (subtract 1 from this number cause you already have 1). Also check the box that says duplicate upstream graph (this is needed), then click on duplicate.
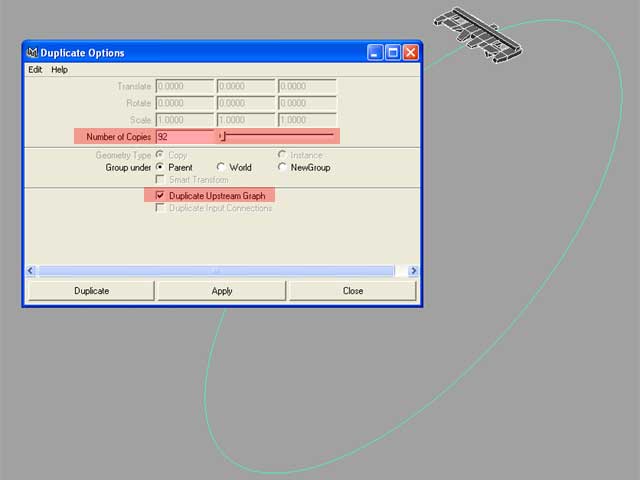
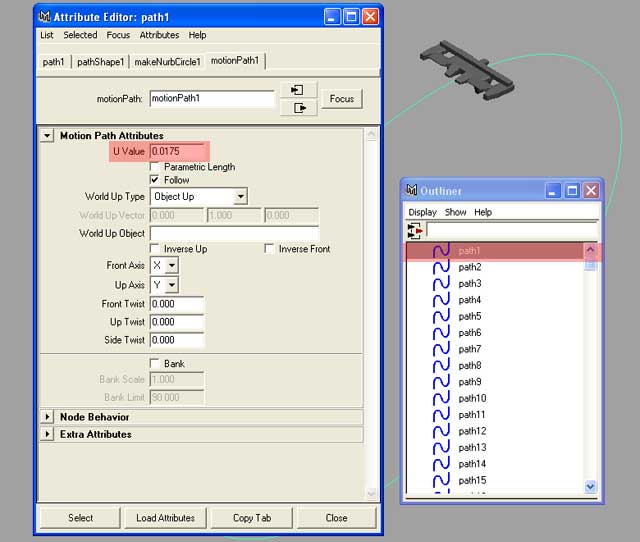
In my case, 92 copies are made. Ok, this may seem a little much, but it is better than the alternative. Open the outliner and look for your nurbscurves. Select the first one. The total U value allowed is 1 so you need to divide 1 by whatever number you need. 1/93=0.017526... This resulting number is the one we are going to put in the U value of each motionpath of each curve. So for curve one you enter 0.0175 and for for curve 2 you enter 0.035 and so on. You can see that a calculator will be handy.
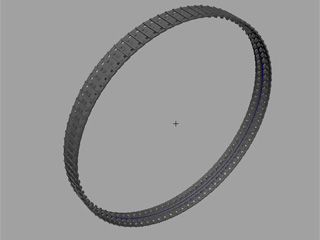
Ok now that the painful part is over, select all of the curves and go to Display>component display>selection handles. You can use this to select the curves easily later. While you have the curves selected, go to Deform>Create Lattice. Now select the lattice and deform it (component mode) to the shape you want and balance it out. Now when you want to animate the treads, just select the curves by the handles and rotate em. If you want to duplicate this, group everything and duplicate the group. Here is the tank I that I used the treads on.
