Lightbulb Construction
Applications: Rhinoceros 3D
Go in to front viewpoint select the Interpolated Curve tool and Make a spline so that they are close to one in Figure 1.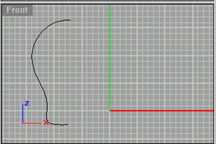
Figure 1
Lighbulb Splines
----- Now you need to use the Revolve tool to make one symetrical object, like the glass of the lightbulb. Use the "REV" Command to access revolve. Make the surface deformable with a even # of control points. (I have heard using a even # is easier for most people.)
You should save your work so that you dont loose it.
----- If your file doesnt look like the one in the Figure 2, then you will have to either revolve again or point edit. To point edit use the command "ShowCV" to show the points, then just pull a whole row and scale the rows if you have to.
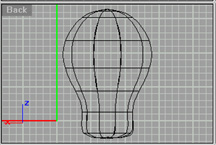
Figure 2
Revolved Splines
----- Now, draw a spline similar to the one in the Figure 3.
I used an Interpolated Curve. You can use a Polyline also if you like.
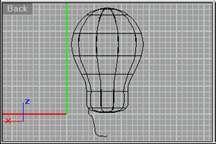
Figure 3
Revolved Splines
----- We are now going to revolve the last line you made. You can use the same steps as the last time we revolved. It would be a good idea to save again.
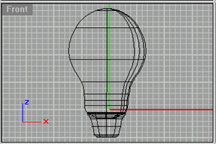
Figure 4
Revolved cup splines
----- Next, we need to make a helix with about 7 turns. Do this by using the "Helix" Command or by going into the curves menu. You may need to point edit the helix, so go ahead and do that if necessary.
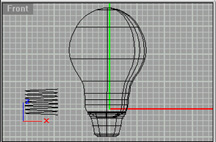
Figure 5
Helix curve
----- You now need to pipe the helix by using the "Pipe" command. Place the piped object over the base of the lightbulb as seen in the Figure 6.
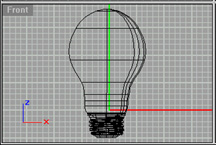
Figure 6
Piped object
----- To add the inside elements of the lightbulb you need to draw two splines; one for each piece. The innermost piece you will have to revolve. Place the pieces where they should be inside the lightbulb.
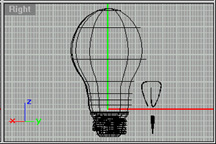
Figure 7
Inside Pieces
Now you can texturize or export into another program to render. When you are done rendering your image should look something similar to the picture in the Figure 8.
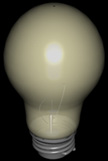
Figure 8
Finished Lightbulb