|
This short cloth tutorial gives you one way to make
simulated cloth for drapes, tunics, curtains, capes or
robes.
This page deals with a single piece of material, later
tutorials will cover skirts and trousers.
To start...
-Open ZBrush ;)
-Start with a
Plane 3D from the TOOL
PANEL
-Use TOOL>MODIFIERS>INITIALIZE and
increase the mesh resolution. I used 200x200 for this exersise but
you can in theory use any size. Find a size that suits you and your
machine. It is also possible to OPTIMISE the mesh at the end to
bring down its file size.
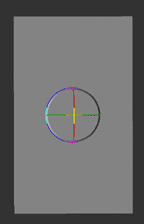 Figure 1 Figure 1 |
-Draw the
Plane3D into the document window. Gyro or EDIT mode (T) will do.
-Using
TOOL>MODIFIERS>
DEFORMATION
rotate the mesh so
that it is lying flat in the TOOL window. (Figure
3)
(Rotate X 90 should do it) |
 Figure
3 Figure
3 |
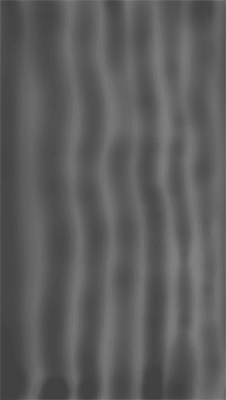 Figure
2 Figure
2 |
-Back in
the document window we can rotate the plane however we like.
Put it flat on the canvas (Figure 2.)
-Hold down the
CTRL key and paint some vertical stripes onto the canvas.
Holding CTRL makes the program draw an Alpha mask onto the
object. Darker areas will be unaffected by the deformations
that we will apply.
NOTE: Some
one will want to do this using the COL and ROW commands in the
selection panel. This is fine too but it gives very 'regular'
patterns.
-We now have an ALPHA
MASK applied to the plane. Use the GRAVITY slider seen in Figure 3 to
make the mesh droop where it is unmasked. Don't forget there
is an UNDO!
-As we rotated the mesh forward it uses
gravity to drop folds into the mesh. (See Figure 4 and
5) |
|
|
|
|
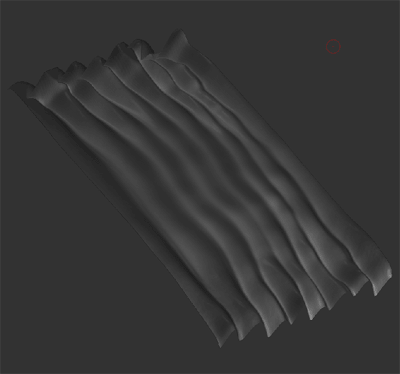 Figure
4 Figure
4 |
|
|
|
|
|
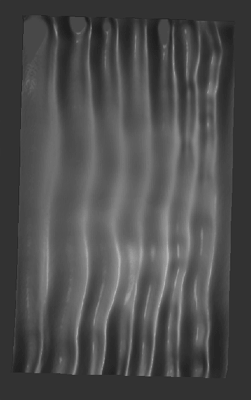 Figure
5 Figure
5 |
|
| THE DETAIL |
|
|
Figure
6 |
|
-It can help to have
some Photographic reference to help you shape the cloth. If
you are making a mesh for a specific project try to visualise
the end result at this stage.
- It can help to pick a
color at this stage. I used blue in Figure 7.
-Using
the DRAW POINTER and MOVE tools in the TRANSFORM panel you can now modify
the mesh to suit your needs. (Figure 6)
- Here I just
used MOVE to pull and push
the cloth into a curtain shape. Use different brush sizes to
get different effects on different parts of the
cloth.
-Focus on the ends of the cloth and increase the
size of the folds there.
|
|
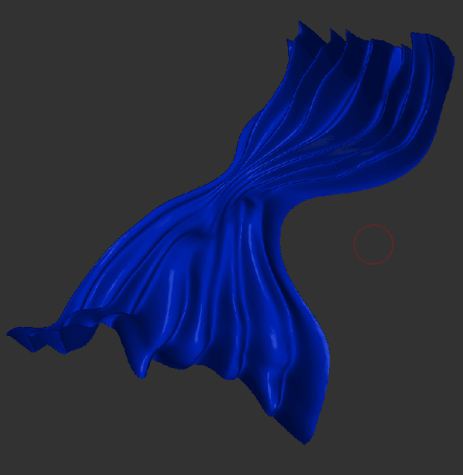 Figure
7 Figure
7 |
-Depending on the project you may wish to bend or twist
the cloth into diffent shapes.
Figure 7 shows how useful
the SBEND can
be.
This is found in the TOOL>MODIFIERS>DEFORMATIONS
panel
|
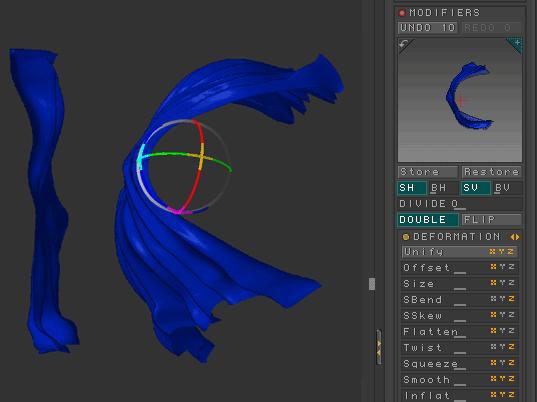
Figure
7 |
-And that really covers it. There are a lot
more deformation sliders in the tool panel that can be used to alter
this type of model. Try them and see what you can come up
with!
| 
