 |
|
|
|
|
|
All images ©
glen southern2003 |
SCULPEY MINOTAUR
|
2. What is Super Sculpey | |||||
|
Super Sculpey is the clay that you see used by movie
animation studios and professionals worldwide for prototypes and
Marquette. Super Sculpey is a soft and smoothable clay that only
seems to come in a fleshy tan color. It can be relatively brittle so
not ideal for items that are to be handled a lot. | |||||
 | |||||
|
2. Tools and
preparation | |||||
|
Having decided to create a large Minotaur figure I collected all the ,materials that I would need for the job. As well as 3lb of Super sculpey I gathered together a roll of galvanized wire for the armature (wire skeleton), several roles of tin foil, a set of basic sculpting tools, a wooden base and some screws to attach the armature to the base. | |||||
 | |||||
|
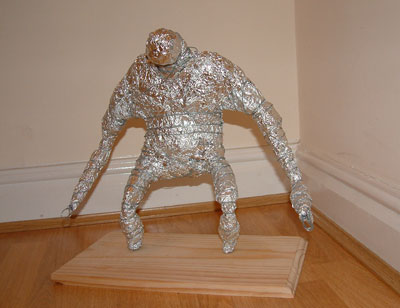
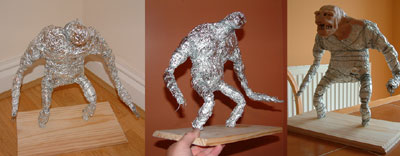
I
attached some of the galvanized wire to the wooden base using 4
screws. I then used twisted lengths of the wire to `rough out` the
frame. When I had the basic humanoid shape I began to tightly wrap
the wire with tin foil. As I wanted to use as little Sculpey as
possible I decided to build as much of the Minotaur in this way as
possible. I re-wrapped the tin foil figure in even more wire and the
figure was already very solid but having a wire frame I was still
able to move the arms and legs into more acceptable stance when
needed. | |||||
 | |||||
I made the hands in the same way but kept them separate from the main torso so that I could add fine detail with having to handle the whole figure . | |||||
 | |||||
|
2. Adding clay and baking parts
off | |||||
| |||||
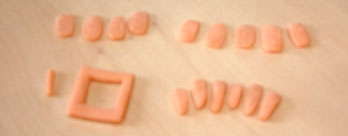 | |||||
|
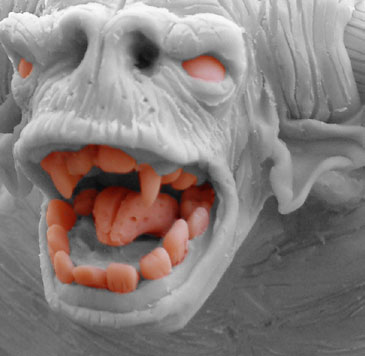
The image below shows has been digitally edited to show which parts were pre-baked. The red areas are pre-baked and the gray areas are sculpted around them. | |||||
 | |||||
Once the head was complete I worked down the body adding and sculpting as I went. I added the pre baked toe claws to the feet and then sculpted the toes and feet around them. | |||||
 | |||||
