![]()

![]()
This tutorial is an introduction to layered procedural material creation. There are a number of benefits to using procedural materials as opposed to using bitmaps. The 2D procedurals are patterns that are created using tiled images or mathematically generated algorithmic patterns. 3D procedurals are generated through the object, such that when parts of the object are cut away, the pattern matches the exterior layout, continuing naturally through the object. Procedurals tile automatically and can provide natural looking textures without the worry of bitmap tiling/resolution. The parameters for procedurals are animatable, allowing for great flexibility.
The available control options vary from procedural to procedural, for example, the options for Brick are obviously different than the options for Cellular. Experiment with the different types and see the myriad of options open to a texture artist.
Personally, I believe that when using procedurals, it is best to layer them similar to layering in photoshop. Sometimes procedural patterns look 'computer generated' and artificial. The fact that some procedurals are mathematically generated make for a uniform look across the object. Layering multiple procedurals and materials allow for natural looking variations that greatly add to realism.
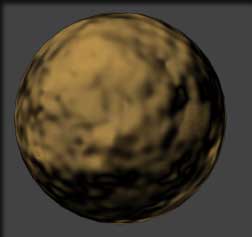
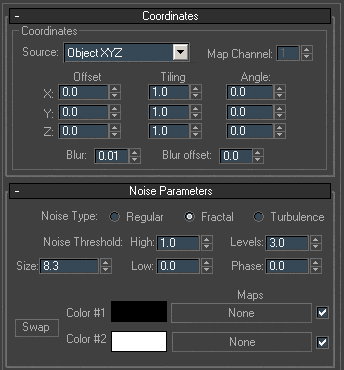
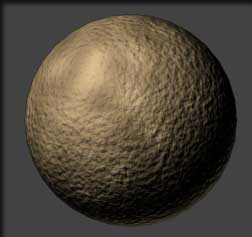
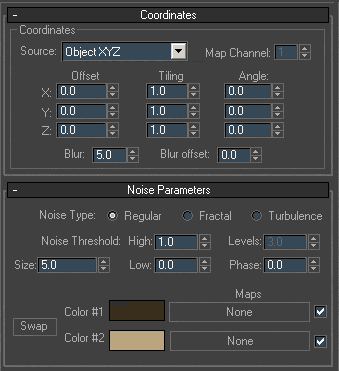
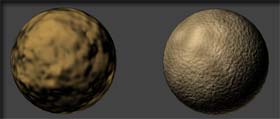
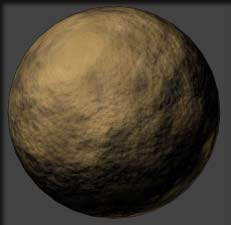
In this tutorial I will create a rocky fissured texture. I will
also demonstrate some of the animatable aspects of the
material.
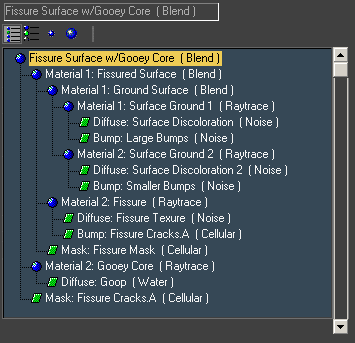
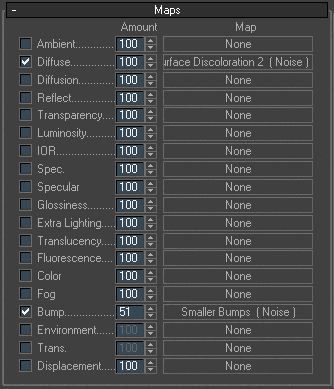
Before we go further, I will show you the final tree of the material. This will allow you to see where the materials you are creating fit into the master plan.
