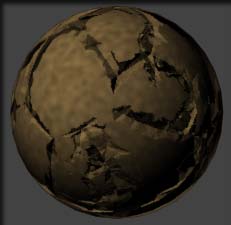
STEP 2
We now have our base ground material. You may tweak the Surface ground materials and see the effects in your blend material due to the instancing.
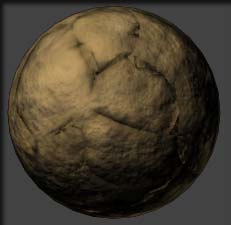
Our next step is to add the fissures (cracks) to our surface. What
we want to do here is simply to add cracks to the surface, and leave the rest of
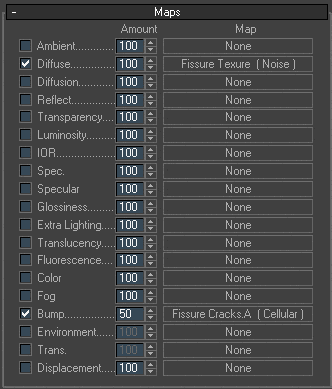
the material intact. Create a new material. This will be our Fissure material.
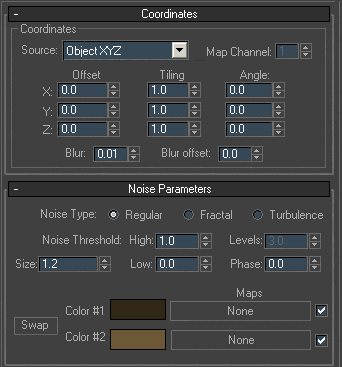
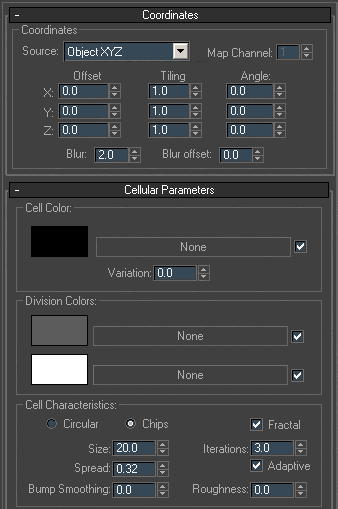
We use another noise map for the surface, and a Cellular for the bump map, which
will define our cracks. I made this material darker than our surface, because I
wanted the cracks look deep and dirty.
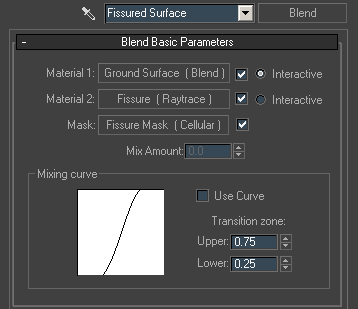
Create another material, this will be the blend material that
combines our Surface Ground with our Fissures. All I want from the Fissure
material is the information contained in the cracks, the bump as well as the
textures in the cracks. This is done with a mask.

Masking the Fissures
The Noise Bump map we use for our cracks
uses the following criteria: black is for the lowest point, white is the
highest, and the grays are the levels in between. (no, the grays are not the
little alien guys that took your uncle Jeb from the barn that fateful night)
Our Mask works this way: black is masked out (blocked) and white is clear, no masking done, and the greys are percentages between, varying levels of masking.
So what we need, is an inverted copy of the Fissure Bump map to act as our mask. This will mask out all areas of the Fissure material that are not relevant to the Noise bump map (fissure).

I am outlining the basic methodology of this process. There are
number of subtle tweaks that are necessary to make the materials look the way
you want them to, these involve blur, sizes of the masks (spread of the cellular
maps) and others. Feel free to experiment with the options available to you, I
am just scratching the surface here. Har dee har
har.
© 2002This tutorial is copyright by Everflow Studios and may not be reproduced/distributed in any way/shape/form except for printing the pdf version for personal use only without express permission.