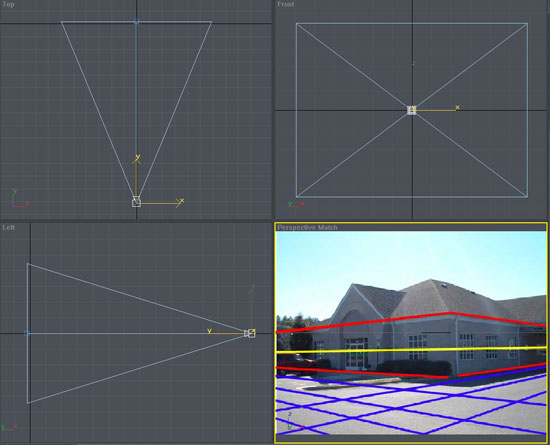
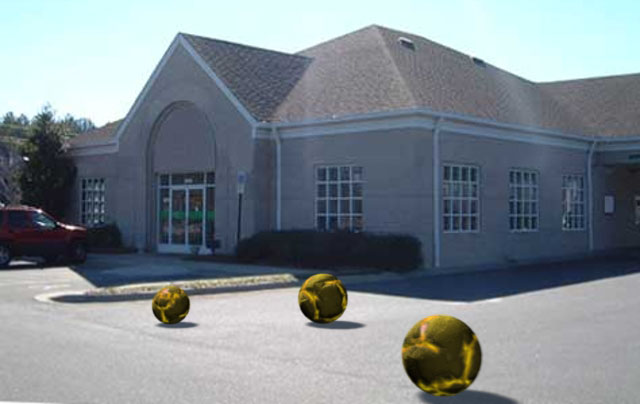
This tutorial concerns itself with
composting 3d elements into a still photograph. This is an effective
technique that can help with visualization, for example adding or
replacing existing structure with proposed architectural designs.
There are many uses for this technique, please feel free to explore
them. It is not an application specific method, it can be used with
any 3d package, although in this instance I am using 3DS Max.
We will begin with an
initial image. There are many things to consider when it comes to
selecting the proper photograph/image to use. In this tutorial, I
will assume you have no knowledge of the focal length of the camera,
height of the person taking the picture etc. Try to use a photograph
that has as little warping as possible (fisheye etc.) as this will
complicate things greatly.
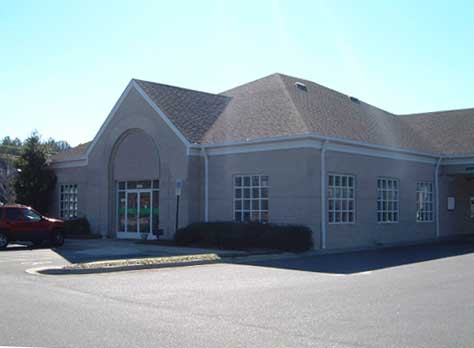
Initial Image
The first thing we need to determine is the
horizon line. Then we determine the vanishing points. This will help
us set up a grid that we can align our viewport ground plane
to.
The next few steps are done in Adobe Photoshop. If you need a primer in
perspective, horizon lines and such, check
here.

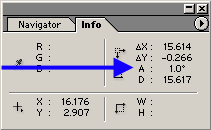
In order to find our horizon line, we
simply intersect two pairs of lines on either side of the image that
follow existing perspective lines. Now create a line that connects
our two intersection points. This will be our horizon line. Due to
human error, sometimes the line is not perfectly horizontal because
the camera was at a slight angle when the picture was taken. When
you draw the line in photoshop, pay attention to the angle (located
in the info dialog) and rotate your image accordingly. (See
below)


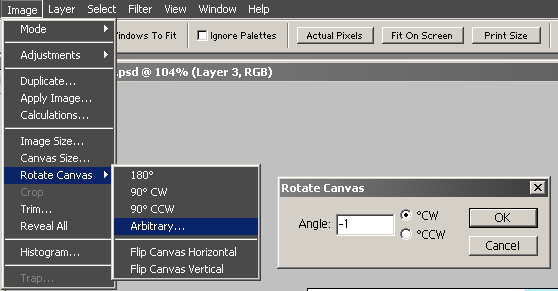
Secondly I create an array of lines
emanating from the endpoints so as to create a grid defining the
ground plane. This will be the grid that we compare to our viewport
grid. It is important to be as precise as possible in this step,
making sure you stay true to the endpoints.

Now that our image is prepared, we can
insert it into the background of our camera viewport.
- Create your target camera perpendicular
to our image plane.
- Make
the cameras horizon line visible.
- Select both the camera and the target.
- Move them vertically either up or down in
order to match the images horizon line.
Make sure your viewport grid is visible.
The viewport grid will represent the ground plane. You may change
your grid color so the relationship between the viewport grid and
the reference image grid is clearly visible.
