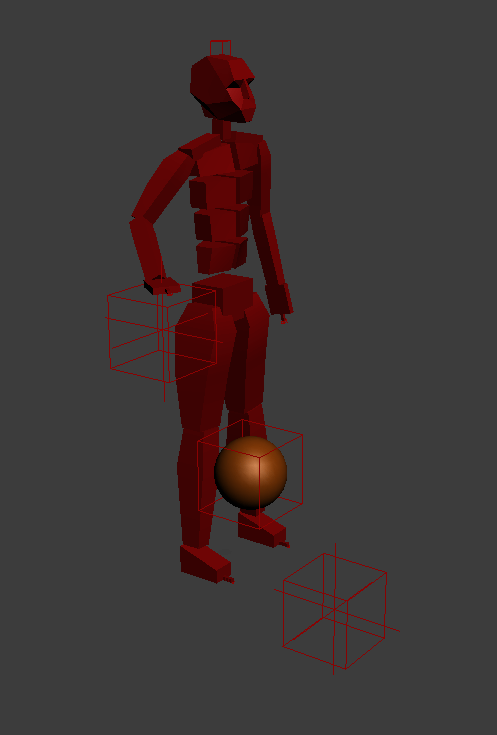
Here is the basic biped setup. Add a sphere
which will be your basketball.
We are going to associate the ball
with the hand bone to insure that the ball will always bounce back
to the palm.
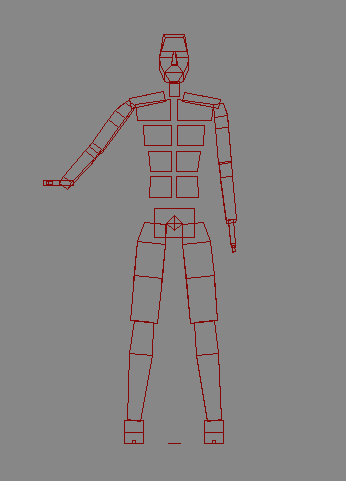
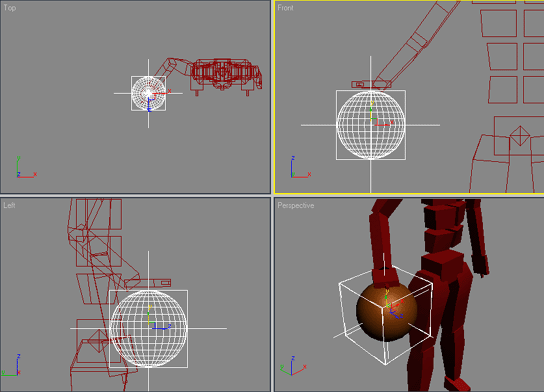
Create a point
helper, and align it to the handbone. This represents the
target, the position where the hand holds the object. Name it HandR Target. You may want to move the point
helper so that it does not sink through the mesh, since the bone is
usually within the mesh. I recommend doing this step after you have
your character skinned to the biped. This way you can see the exact
position of the palm, so the object does not sink through the mesh
to the bone. Extremely painful. Once you have the position
relationship between the HandR Target and
the hand bone, Link the HandR Target to the hand bone.
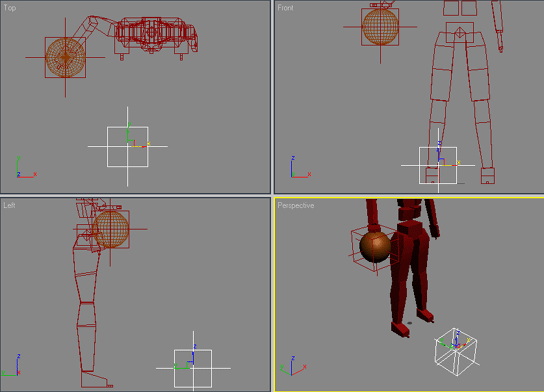
Create another helper, HandR Ground Target. This will represent where
the ball will land, weather it be on the ground, a wall, a ceiling,
someones face etc. Make it the same size as the other helper (which
is the same size as the ball) so you can see the volume of the
ball.
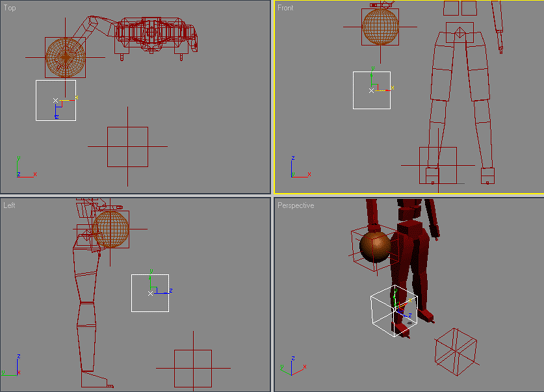
Finally, lets create a point helper
that will represent the ball, call this the Right Ball. Align  the basketball to this point helper, then link the ball to
it.
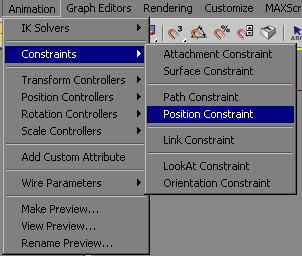
Next, lets constrain the Right Ball point object to the targets. First,
constrain it to the Hand R Taget. (Toolbar:
Animation/Constraints/Postition Constriant) You will see the
Right Ball snap to the hand
target.
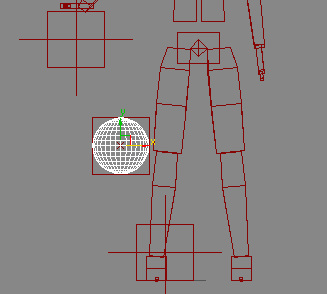
Then, position constrain the Right ball to the Hand R
Ground Target. Notice that the Right Ball sits perfectly
between the two helper objects. Move the hand bone, or the ground
target and view the result on the Ball. Berrrry
Intelllesting.....
Note: It is good to remember/write down
which order the object is constrained. There are Weights associated
with each constraint, and they are numbered (weight 0, weight 1
etc.) and are numbered according to the order they are selected.
More on this later.


